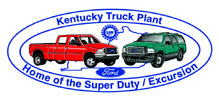
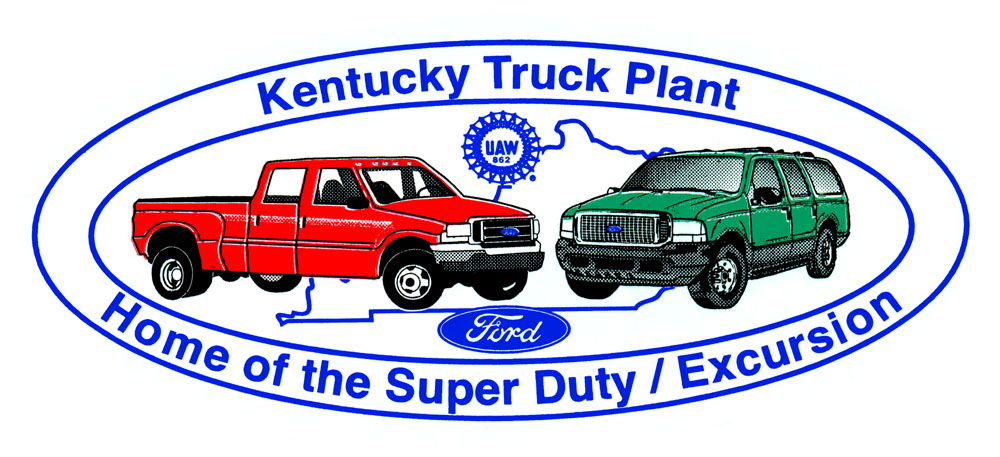
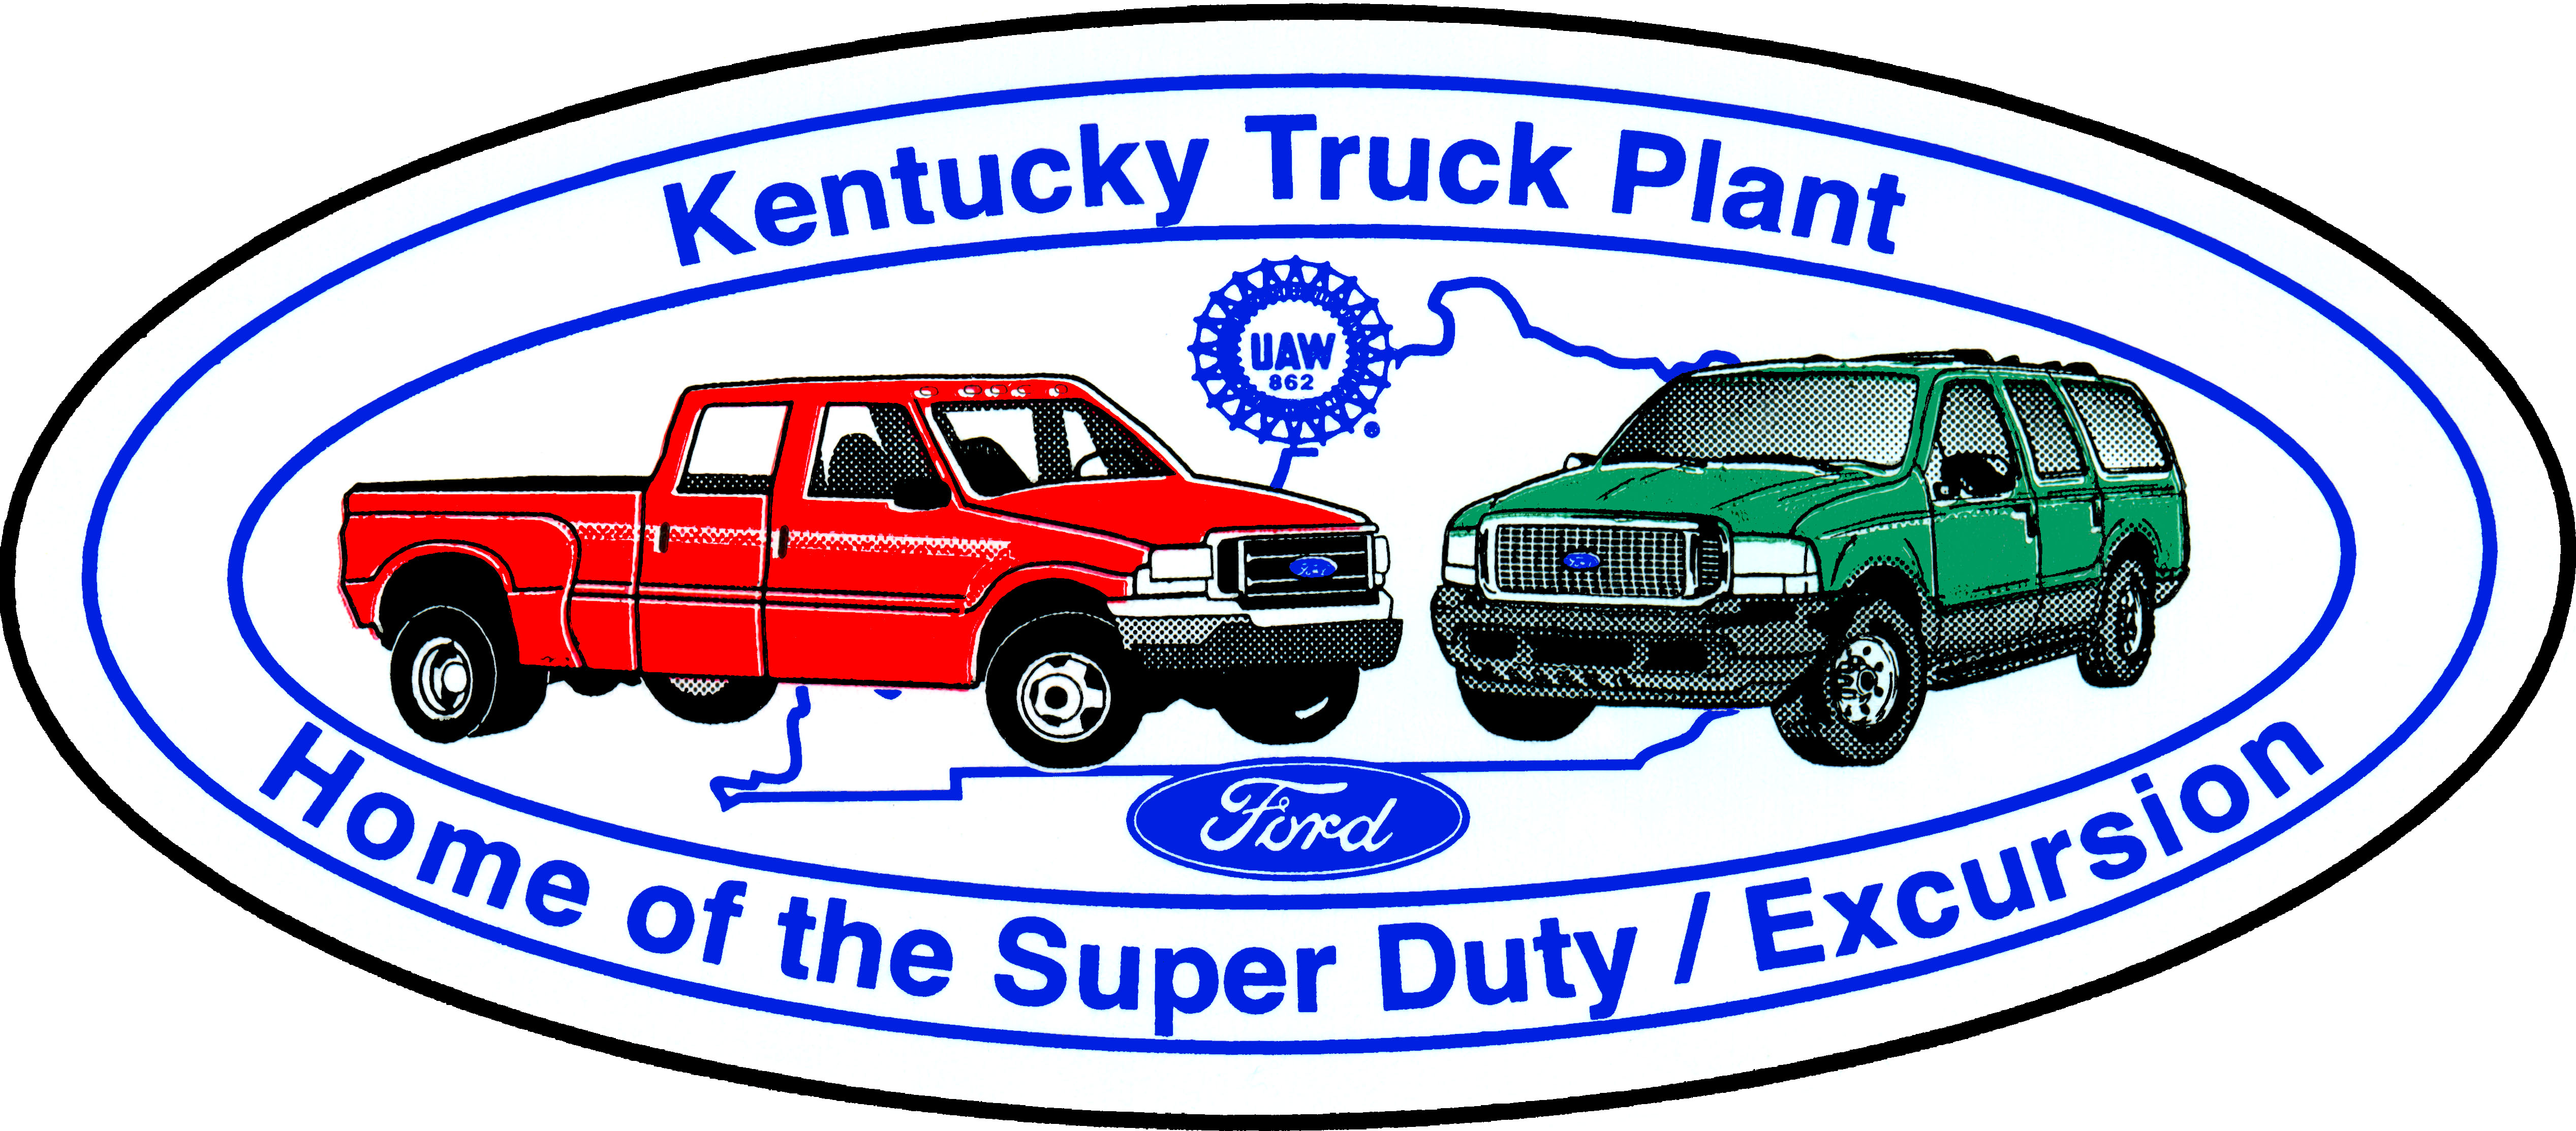
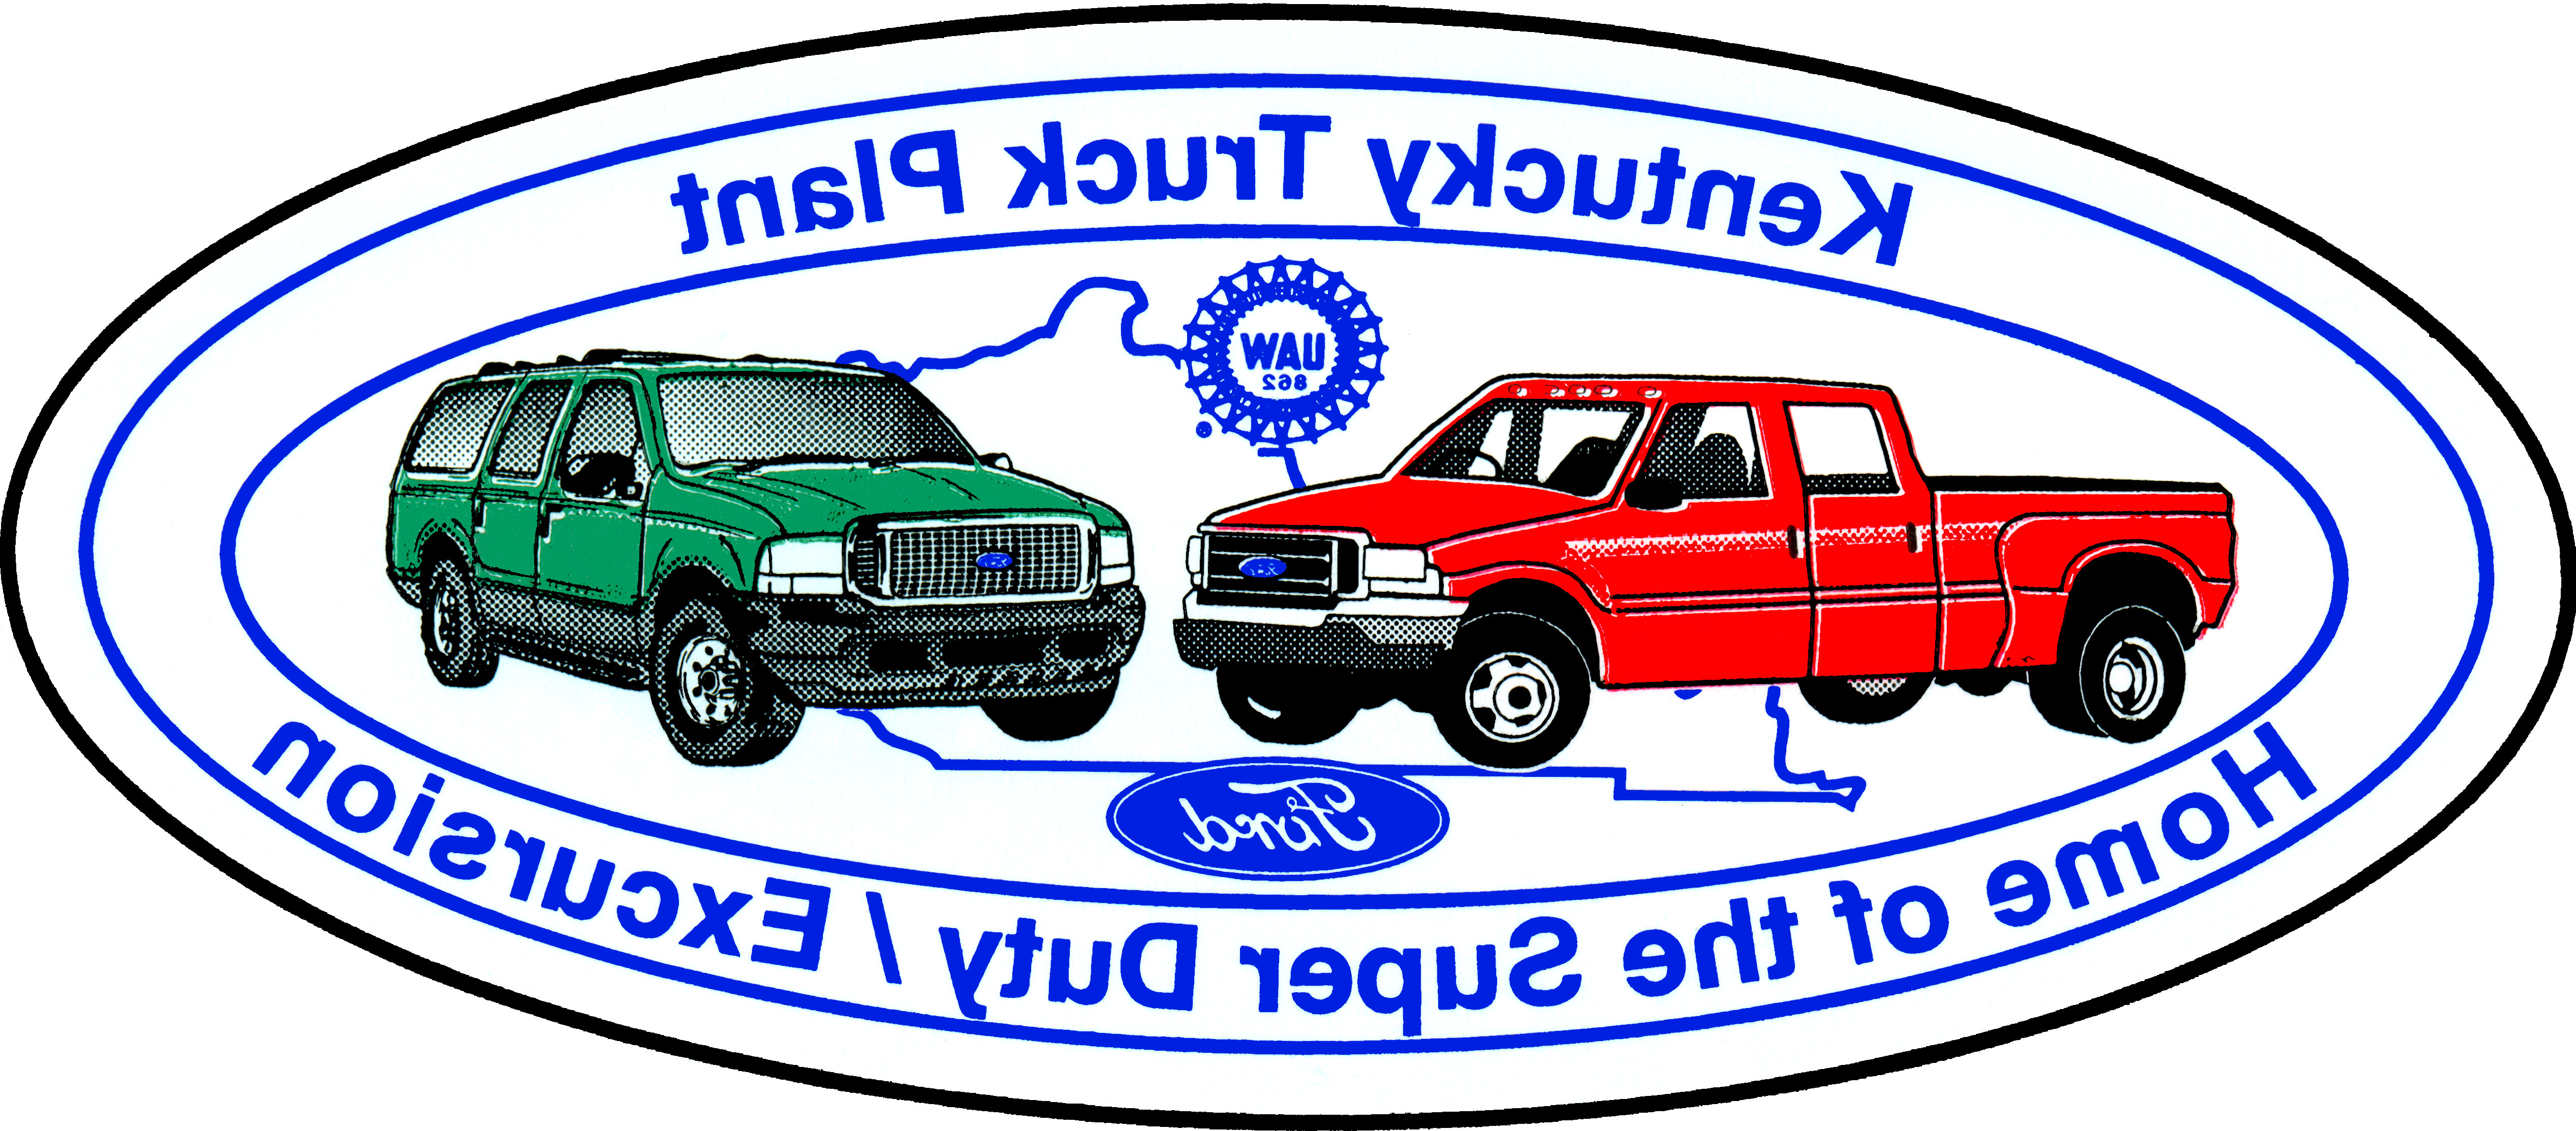
screen version | 1200 DPI actual | actual, reversed | reversed, sheet of 10 |
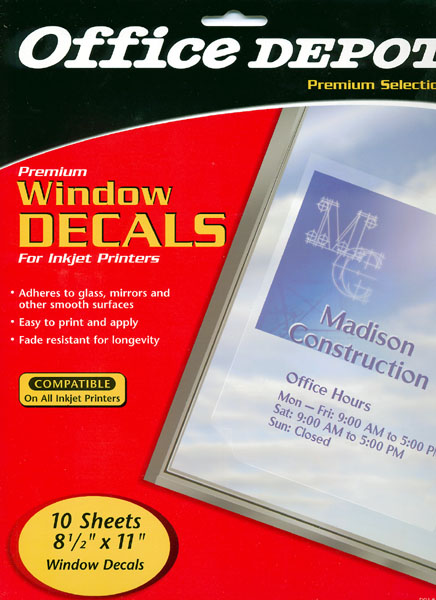
First, go to Office Depot and buy some printable static cling material ($10).
This is the stuff:
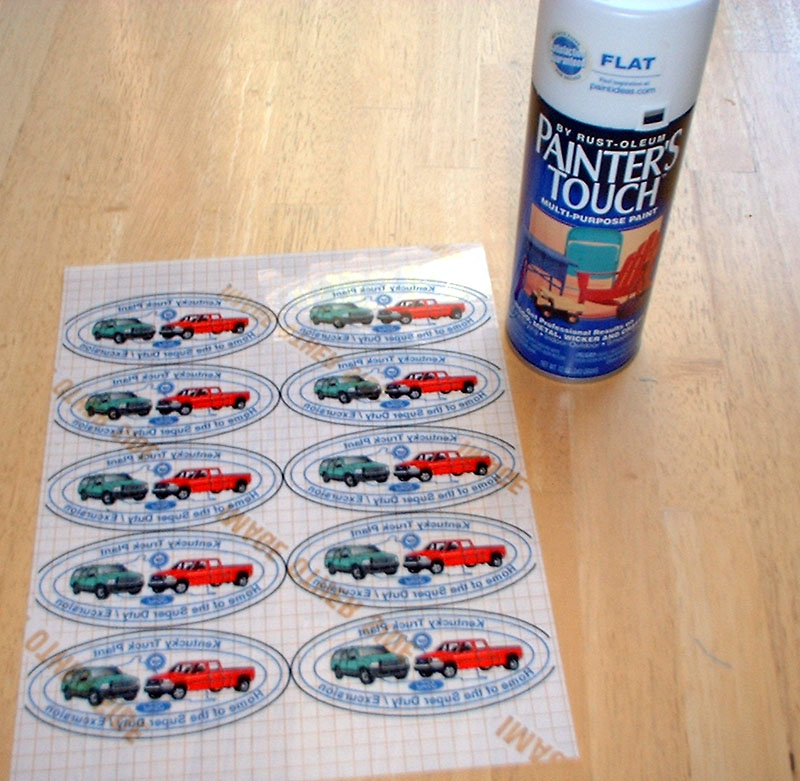
Next, print the reversed 10-up image onto the page, at a high quality setting
and using the setting for "glossy photo film." I also set "center the image"
and "print maximum" to lose as little of the cut lines as possible. Then you
need to lightly spray the same (ink) side of the printout with flat white paint.
(You want the paint to be slightly translucent, and too thick a coating will make
the sticker too stiff.)
This is the printout and the paint I used:
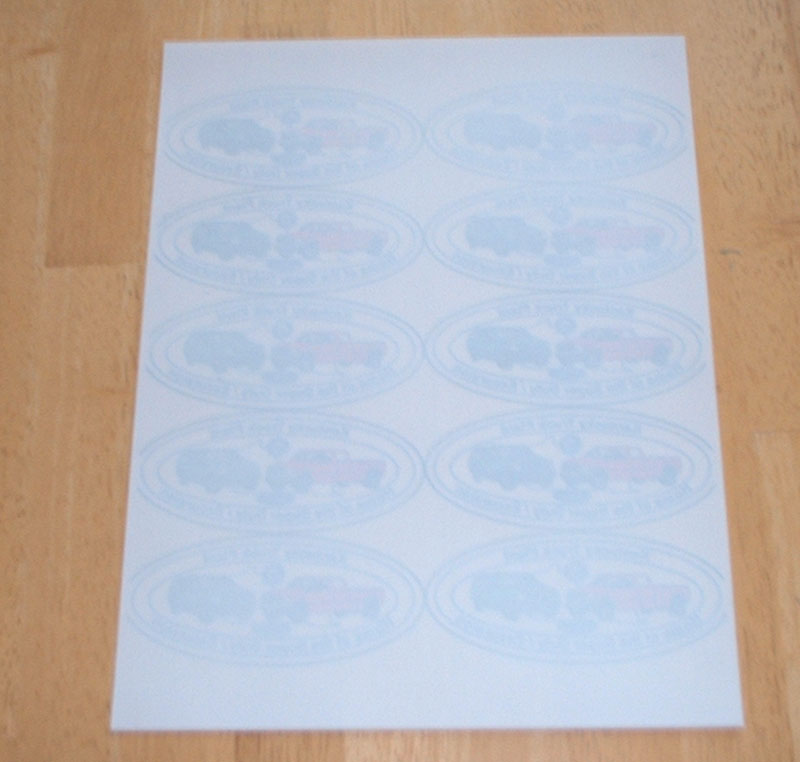
This is the result:
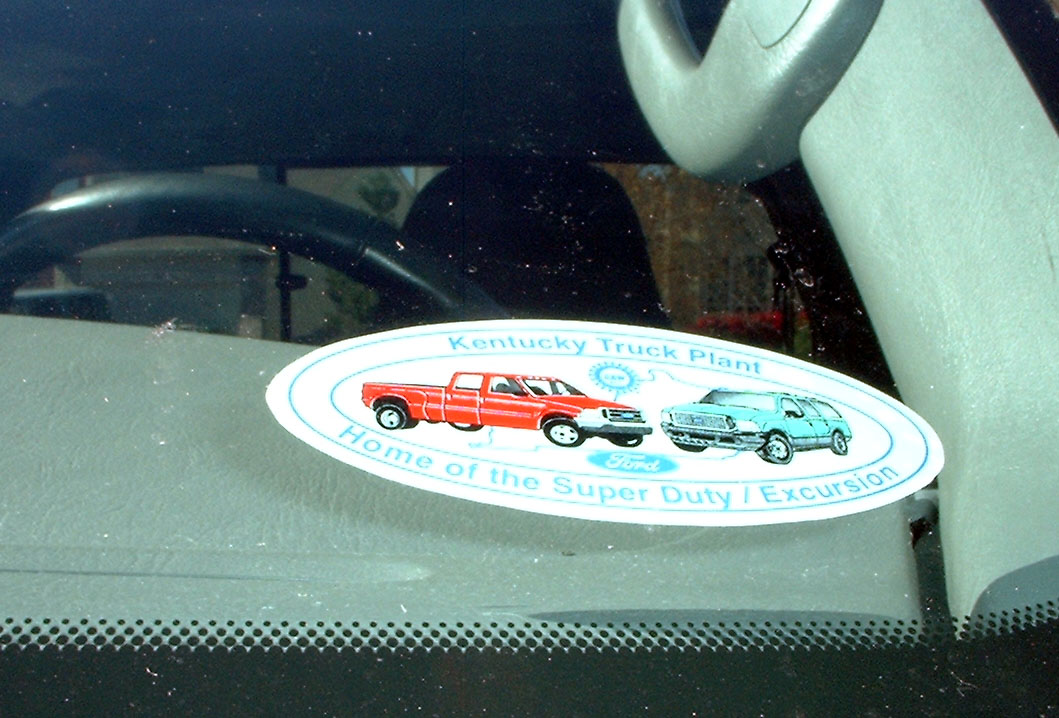
Then very carefully use a single-edge razor blade or X-acto knife to cut along
the black trim line. Remember to cut on the inside of the line. You'll have to
wing it a bit on the missing part of the line on the edge if your printer won't
print all the way to the edge of the page. Remove the backing, apply to windshield
and you're done!
This is the installed sticker:
If one doesn't print quite right, or you mis-cut it, or you scrape the white paint
off while smoothing it out (I did!), you still have 9 more. If cleaning the inside
of your windshield messes it up, you have more. If you have friends with Superduties
and Excursions who want stickers too, you have more. Go crazy!